 option from the Navigation pane.
A Workflow is a powerful feature that helps automate how information moves through a radio station’s setup. It sends metadata and advertising messages to station encoders, triggers functions such as Traffic Announcements, and communicates with playout systems like Zetta to perform simple control actions, including turning mixer faders on or off.
A Workflow creates a clear, step‑by‑step path for data. It takes information from one source, processes it as needed, and delivers it to the correct destination. Each step can be adjusted to match the requirements of a specific station, ensuring that every output arrives in the right format.
In simple terms, a Workflow acts as a customizable pipeline. It receives data, runs it through a series of actions, and sends out the final result. This flexible structure supports a wide range of protocols, formats, and station preferences, making it easier to manage multiple stations without dealing with complicated configurations.
The Workflow Canvas in AudioDisplay is designed to give a clear, visual overview of how data moves through the system. Users can drag and drop elements such as Sources, Jobs, and Destinations onto the canvas and connect them to define the data path. Each element includes a properties panel where users can adjust settings and fine‑tune how that part of the workflow behaves.
This visual, hands‑on approach makes it easier to design, update, and troubleshoot even complex workflows. It helps users quickly understand how everything fits together and adapts the system to the specific needs of each station.
Click for help links for this topicClick for help links for this topic
Select the Workflows option from the Navigation pane.
Click any area for help.

Click any area for help.
The Search field, located at the top of the Workflow panel, functions as a dynamic, real‑time search tool. As the user types, the system instantly filters and updates the Workflow list, allowing them to quickly locate specific workflows without needing to scroll or navigate manually. This live‑search behavior ensures faster access to items and supports efficient navigation within large or complex workflow collections.
The Import Workflow feature enables the user to bring an existing workflow into the system by uploading a compatible JSON file. When activated, the Import Workflow button opens a standard Windows browse window, giving the user multiple options for selecting how they want to upload their workflow. This includes choosing a file directly from their computer or using the Upload from Mobile option, which displays a QR code panel that allows the user to upload the workflow file from a mobile device. This supports a wide range of working environments and simplifies the process of restoring, sharing, or transferring workflows.
The +New Workflow button will open the Workflow canvas
The Workflows list provides an overview of all available workflows. Each entry includes the following details:
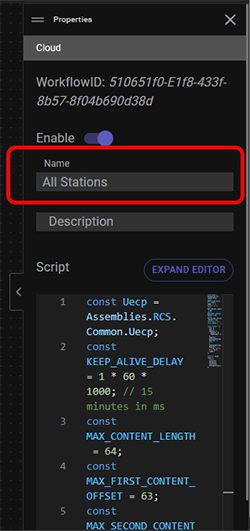
Displays the name assigned when the workflow was created. To rename a workflow, select it from the list to open the workflow canvas. Then, click the Properties  toolbar button and update the Name field in the Properties panel.
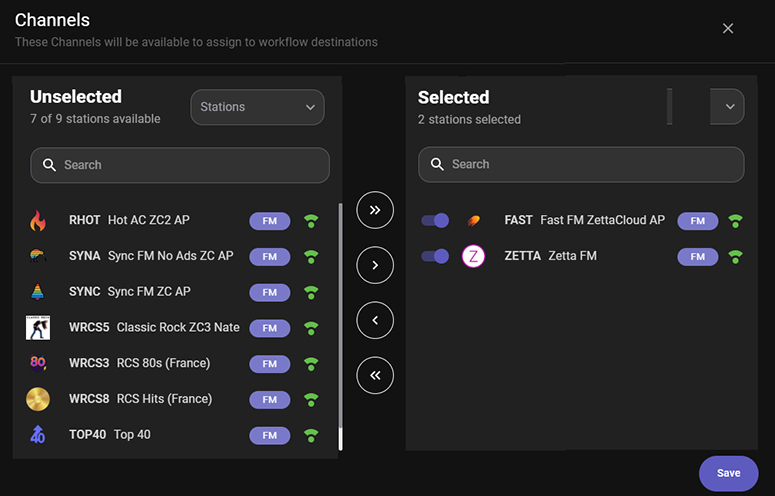
Shows the total number of Channels selected for the workflow. To adjust target stations, select the workflow from the list to open the workflow canvas. Then, click the Channels  toolbar button. In the Channels window, choose the stations to add or remove.
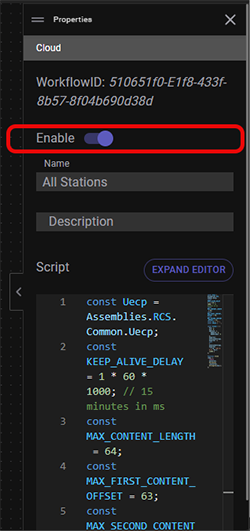
Indicates whether the workflow is currently enabled or disabled for the selected Channels. To change the status, select the workflow from the list to open the workflow canvas. Then, click the Properties toolbar button and use the Enable toggle button in the Properties panel.
The Actions column provides quick options to manage workflows:
 Edit – Opens the selected workflow canvas for editing.
 Duplicate – Creates a copy of the workflow and opens it in a new workflow canvas. The word “(copy)” is added to the name. The copied workflow must be saved to finalize.
 Delete – Prompts for confirmation before removing the workflow. Select Yes to proceed or No to cancel.
 Export – Allows the workflow to be exported to a JSON file.
Click for help links for this sectionClick for help links for this section
Import a Workflow into AudioDisplay
Edit a Workflow
 |
Use the following steps to import a workflow: |
option from the Navigation pane. |
Use the following steps to add a new workflow: |
option from the Navigation pane. button to open the Properties panel.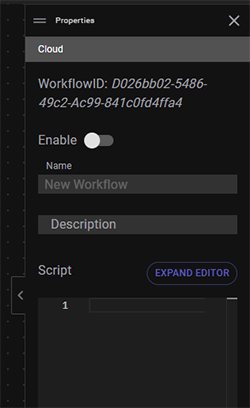
 button in the toolbar to open the Nodes panel.
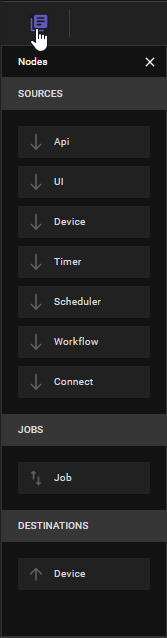 button to view and edit the properties for each Node added.
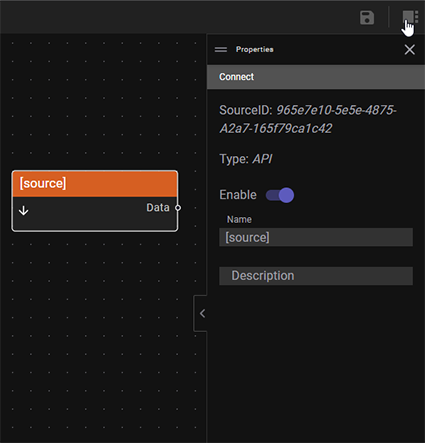 button to open the Channels window to select the Target Stations.
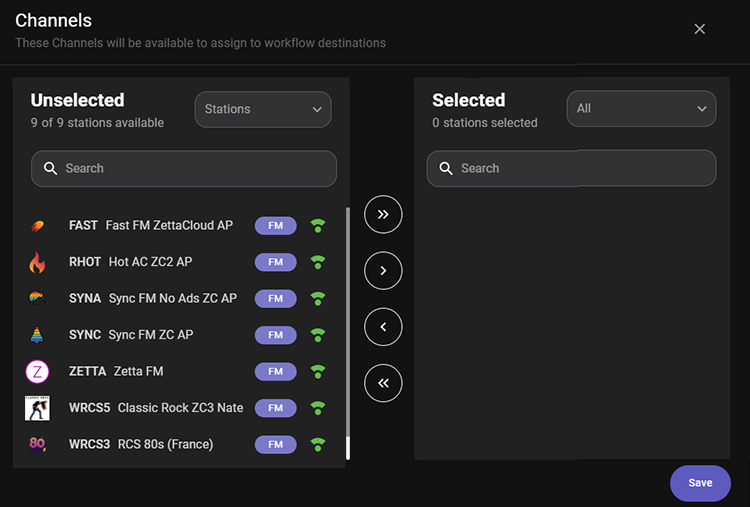
 button in the Workflow canvas toolbar.
 |
Use the following steps to delete a workflow: |
option from the Navigation pane. button in the action column for the workflow that is to be removed.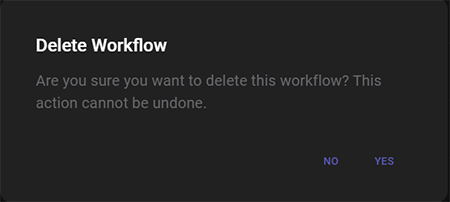
© Copyright 2022 - 2026 AudioDisplay. All Rights Reserved.